By following the setup step by step, you will have a working Devflow environment.
Installing Devflow
Devflow utilizes Composer to manage its dependencies. So, before using Devflow, make sure you have Composer installed on your machine/server.
Composer Installation
You may also install Devflow by issuing the Composer create-project command in your terminal:
By default, Devflow CMF uses SQLite to make it easier to get up and running quickly so that you can learn the system. But don't underestimate SQLite, it is a viable solution to run your applications and websites for years to come.
Environment Configuration
When you ran the composer command, a .env was generated for you. There are few variables you will need to update in
this file:
## Application variables.
APP_BASE_PATH=/opt/lampp/htdocs/project
APP_BASE_URL=http://localhost:8080/

## Devflow variables.
CMS_MAIN_SITE_URL=localhost:8080
APP_BASE_PATH is the absolute root path application which is where the composer.json file is located.
2. The APP_BASE_URL is the full url of the main site included the ending slash (/).
3. The CMS_MAIN_SITE_URL is the url of the main site of the installation. Devflow supports multisite, but even if you are
not using multisite, this variable still needs to be set.
There are other variables in your .env file that Devflow will automatically populate during install as well as create
a .enc.key file that is needed for encrypting and decrypting data and cookies.
Once you've set the above .env variables, open a terminal, cd to the root of your installation and run the
following command:
The command will finish filling out .env, create .enc.key, create the super admin account, and the main site.
When finished, your admin account details will appear on a successful install.
Run the following command to start the development server:
Then open http://localhost:8080/admin/login/:
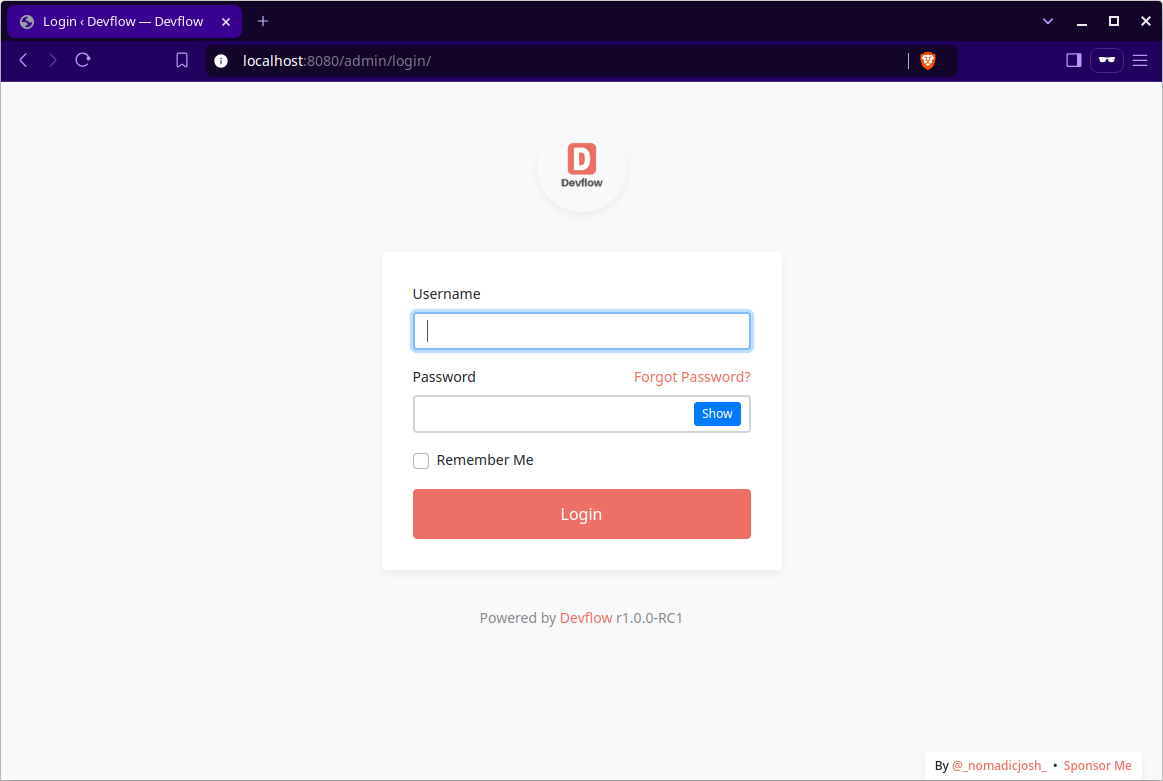
Then log in with the account details that were generated for you during the installation.
Web Server Configuration
Apache
Devflow ships with a public/.htaccess file that is used to allow URLs without index.php. If you use Apache to serve
your application, be sure to enable the mod_rewrite module.
If the .htaccess file that ships with Devflow does not work with your Apache installation, try this one:
<IfModule mod_rewrite.c>
RewriteEngine on

RewriteRule ^themes/([^/]+)/(?!public/)(.*)$ themes/$1/public/$2 [L]
RewriteRule ^plugins/([^/]+)/(?!public/)(.*)$ plugins/$1/public/$2 [L]

RewriteCond %{REQUEST_FILENAME} !-d
RewriteCond %{REQUEST_FILENAME} !-f
RewriteRule . index.php [L]

RewriteRule ^themes/([^/]+)/public/(.*)$ themes/$1/public/$2 [L]
RewriteRule ^plugins/([^/]+)/public/(.*)$ plugins/$1/public/$2 [L]
RewriteRule ^uploads/(.*)$ uploads/$1 [L]
</IfModule>
Nginx
On Nginx, the following directive in your site configuration will allow "pretty" URLs:
location /themes {
  rewrite ^/themes/([^/]+)/(?!public/)(.*)$ /themes/$1/public/$2 break;
  rewrite ^/themes/([^/]+)/public/(.*)$ /themes/$1/public/$2 break;
}

location /plugins {
  rewrite ^/plugins/([^/]+)/(?!public/)(.*)$ /plugins/$1/public/$2 break;
  rewrite ^/plugins/([^/]+)/public/(.*)$ /plugins/$1/public/$2 break;
}

location / {
    try_files $uri $uri/ /index.php?$args;
}

location /uploads/ {
  alias /uploads/;
}

#rewrite ^/uploads/(.*)$ /uploads/$1 last; //use this in place of alias, if alias does not work
Known Issues
Media Library
If you encounter the following Media Library issue after installation:
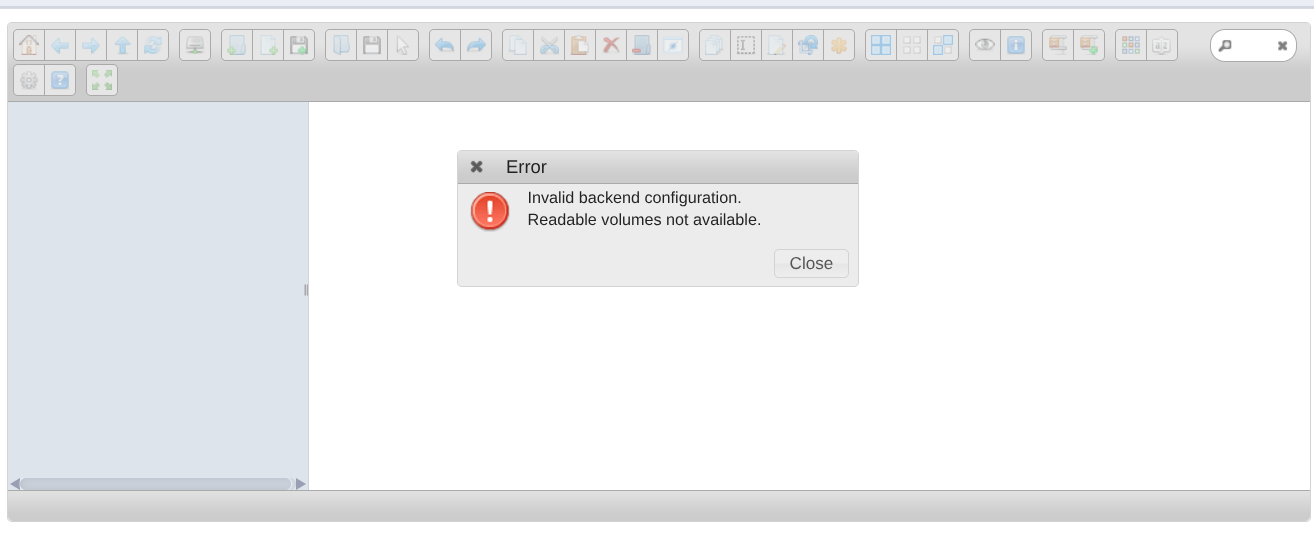
Run the following terminal command using the appropriate site id:
User Can't Log In
If after a user resets their password, or if an admin resets the user's password and the user cannot log in, the cache probably didn't get cleared properly. To fix, run the following command: